Posts

Showing posts from May, 2021

Import CSV Data in Sitecore Using PowerShell: Part-3

Image
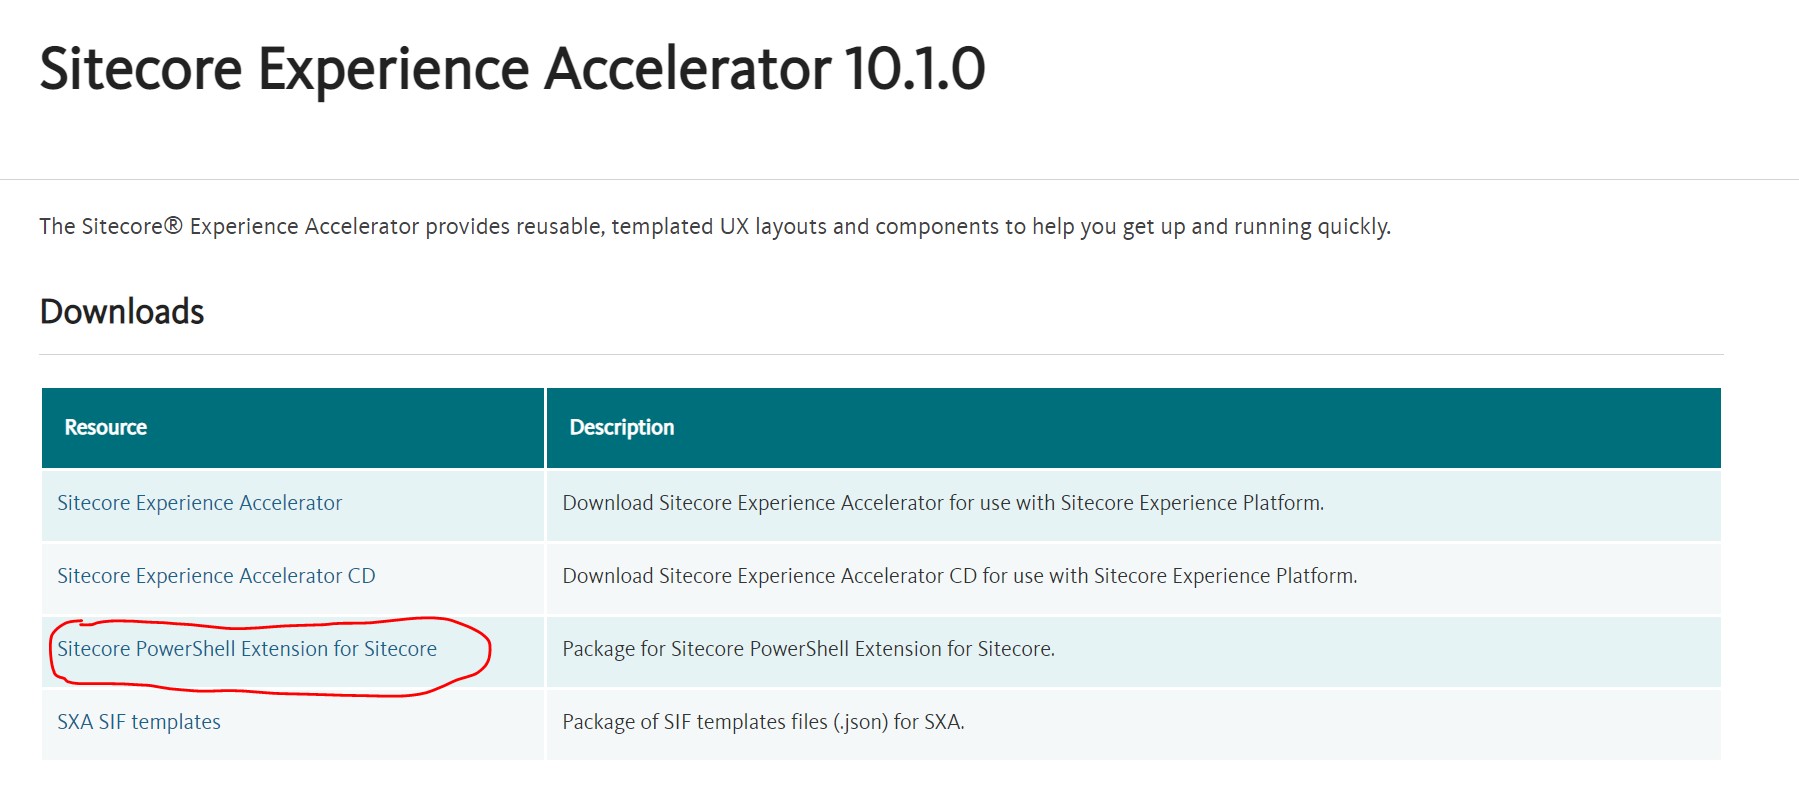
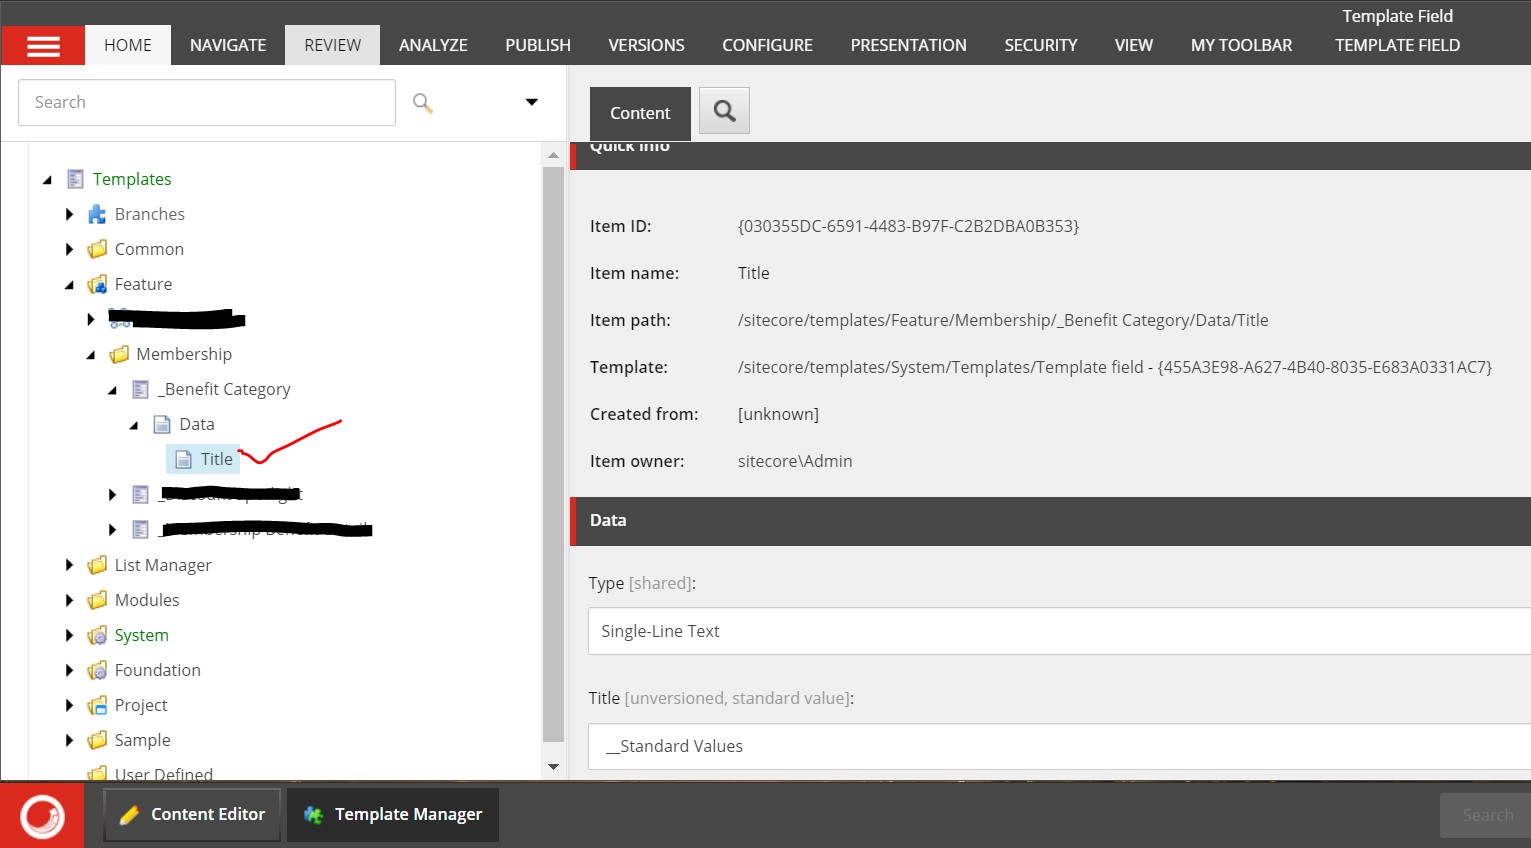
In my previous blog , we had discussed Sitecore PowerShell Command and Scripts. In this blog, I am discussing with you about How to Import CSV Data in Sitecore using PowerShell Scripts? To do the same you need to read the CSV file rows and create Sitecore Items into the Content Tree for each row then assign the column values of the row into the respective Item Field. There are two options: Write your own customized PowerShell Script and Import CSV Data. Use the inbuilt Data Importer tool that comes with Sitecore PowerShell Extension .  Option 1: Perform the Below steps to Import the CSV Data into Sitecore: First, you will need a CSV file. If you have Excel Sheet, then go to the File Menu and click on Save As option and change the format and save it into CSV format. Suppose you have a CSV file with the number of rows and each row has several columns with predefined values. Here I am taking the below CSV file for an

PowerShell Commands and Scripts for Sitecore Item: Part-2

Image
In my previous blog , we had discussed Installation of the PSE module with Sitecore and Out of The Box Tools. In this blog, I am discussing with you some basic development of PowerShell Command and Scripts. Determine PowerShell version: Execute the below command will give you the all the details of installed PowerShell like Version, Edition, SPE module version, etc. In my case, I have installed SPE module 6.2.   $PSVersionTable Directory and Text file: Create a Directory into the system. Write text into the text file and save that text file in the system directory. Get Sitecore Item: You can get Sitecore Item by Path, ID, Sitecore Query. I am giving you an example with Path. In the above, I have set parameter value -ErrorAction SilentlyContinue which means the Get-Item command will execute without any error shown on the console in case it does not found any item on the path.   Now you can perform various o

PowerShell with Sitecore and Installation: Part-1

Image
PowerShell is a modern command-line shell, or we can say Scripting language framework.  It is a more influential tool compare to the command prompt. Sitecore PowerShell module increases your productivity, performance and saves your development time. It’s developed by Adam Najmanowicz and Michael West. It does not install OOTB therefore you need to install it manually. Using this module, you can perform serval operations on Sitecore Items like Add/Update/Delete, Get Child Items, Bulk Updates, Publish Items, Delete Items on specific conditions, etc. Install SPE Module: Go to the Sitecore Download website from here and select the Sitecore Version. Once you elect, it will redirect to the download section. Here I am selecting Sitecore Experience Accelerator 10.1.0, click on the link and it will redirect you to the  download section . Download the Sitecore PowerShell Extension for Sitecore. Install the Sitecore PowerShell

Make Sitecore Field Read-Only

Image
In this blog, I will discuss with you How to make Sitecore Item Field Read-Only. Scenarios: I have fetched the data from an external Database and create Sitecore items into the content tree and update the field values of items in the Sitecore content tree. There are Sitecore jobs that will run periodically and perform the above operations, but content editors can update those data and we can lose the actual values. Solution: As you are aware that access rights are applied on Sitecore Items so to resolve the above issue, I made the Sitecore item fields Read-only. Find below the steps to make the Sitecore Items field read-only: Go to the respective items template and find the field which you want to make read-only. Here I am doing with the Title field: In the Ribbon Bar menu click on the View button and make sure that both Standard fields and Raw values checkbox are checked: Go to the security section in the right panel and insert the below text into that security[shared] field and sav