PowerShell with Sitecore and Installation: Part-1
PowerShell is a modern command-line shell, or we can say Scripting language framework. It is a more influential tool compare to the command prompt. Sitecore PowerShell module increases your productivity, performance and saves your development time. It’s developed by Adam Najmanowicz and Michael West. It does not install OOTB therefore you need to install it manually. Using this module, you can perform serval operations on Sitecore Items like Add/Update/Delete, Get Child Items, Bulk Updates, Publish Items, Delete Items on specific conditions, etc.
Install SPE Module:
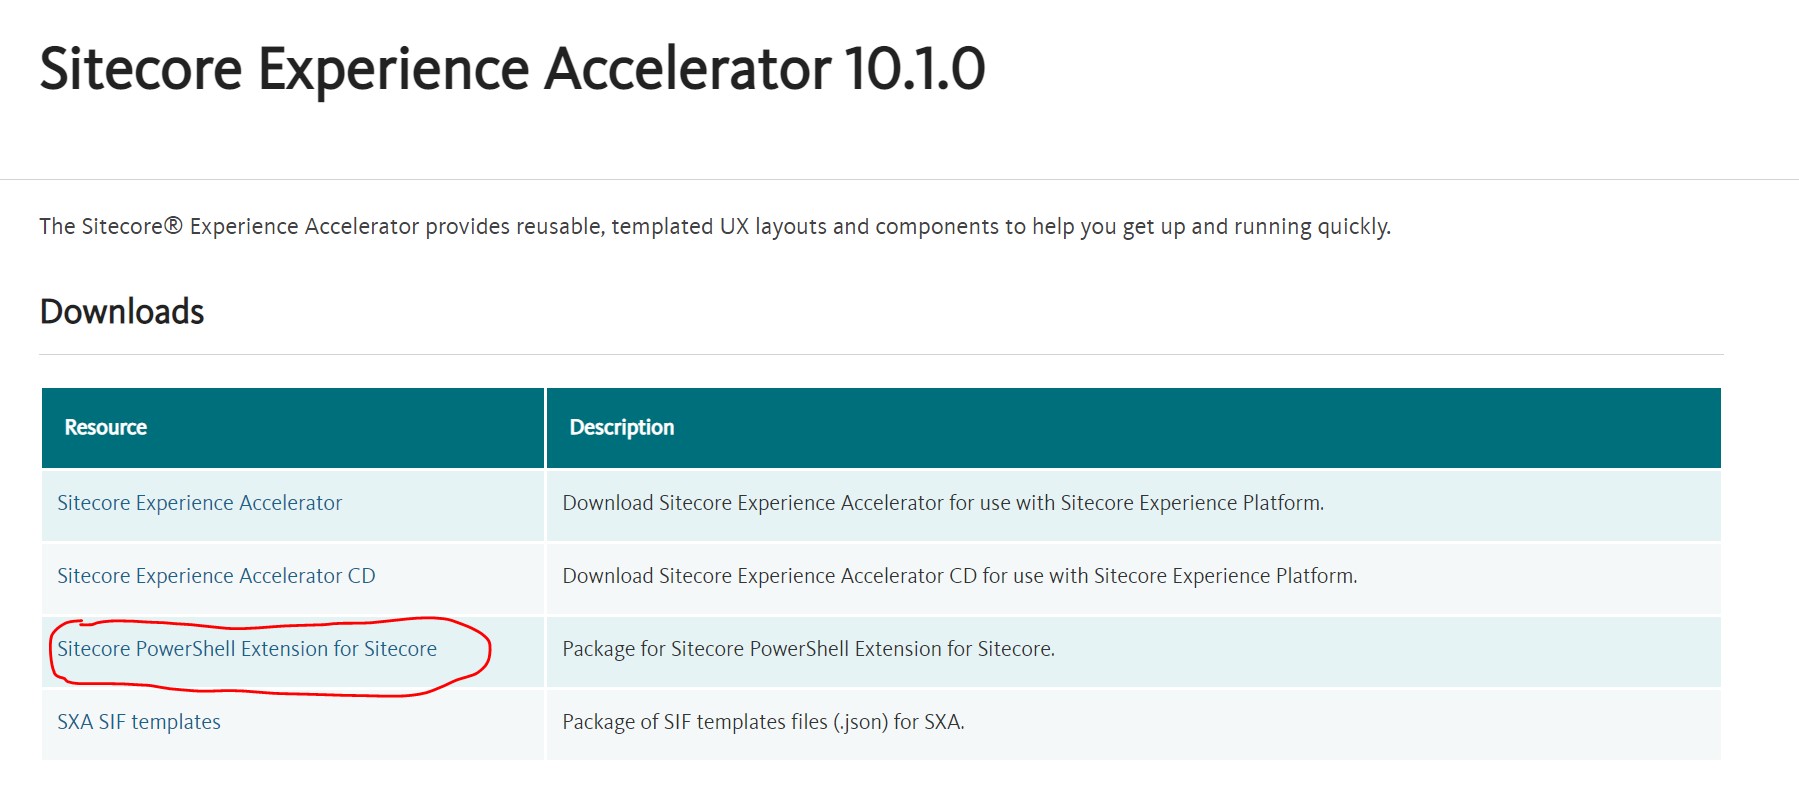
- Go to the Sitecore Download website from here and select the Sitecore Version. Once you elect, it will redirect to the download section. Here I am selecting Sitecore Experience Accelerator 10.1.0, click on the link and it will redirect you to the download section.
-
Download the Sitecore PowerShell Extension for Sitecore.

- Install the Sitecore PowerShell Extension (SPE) module. For more information about Install Sitecore Module and Package, see the blog post How to Install Sitecore Module or Package.
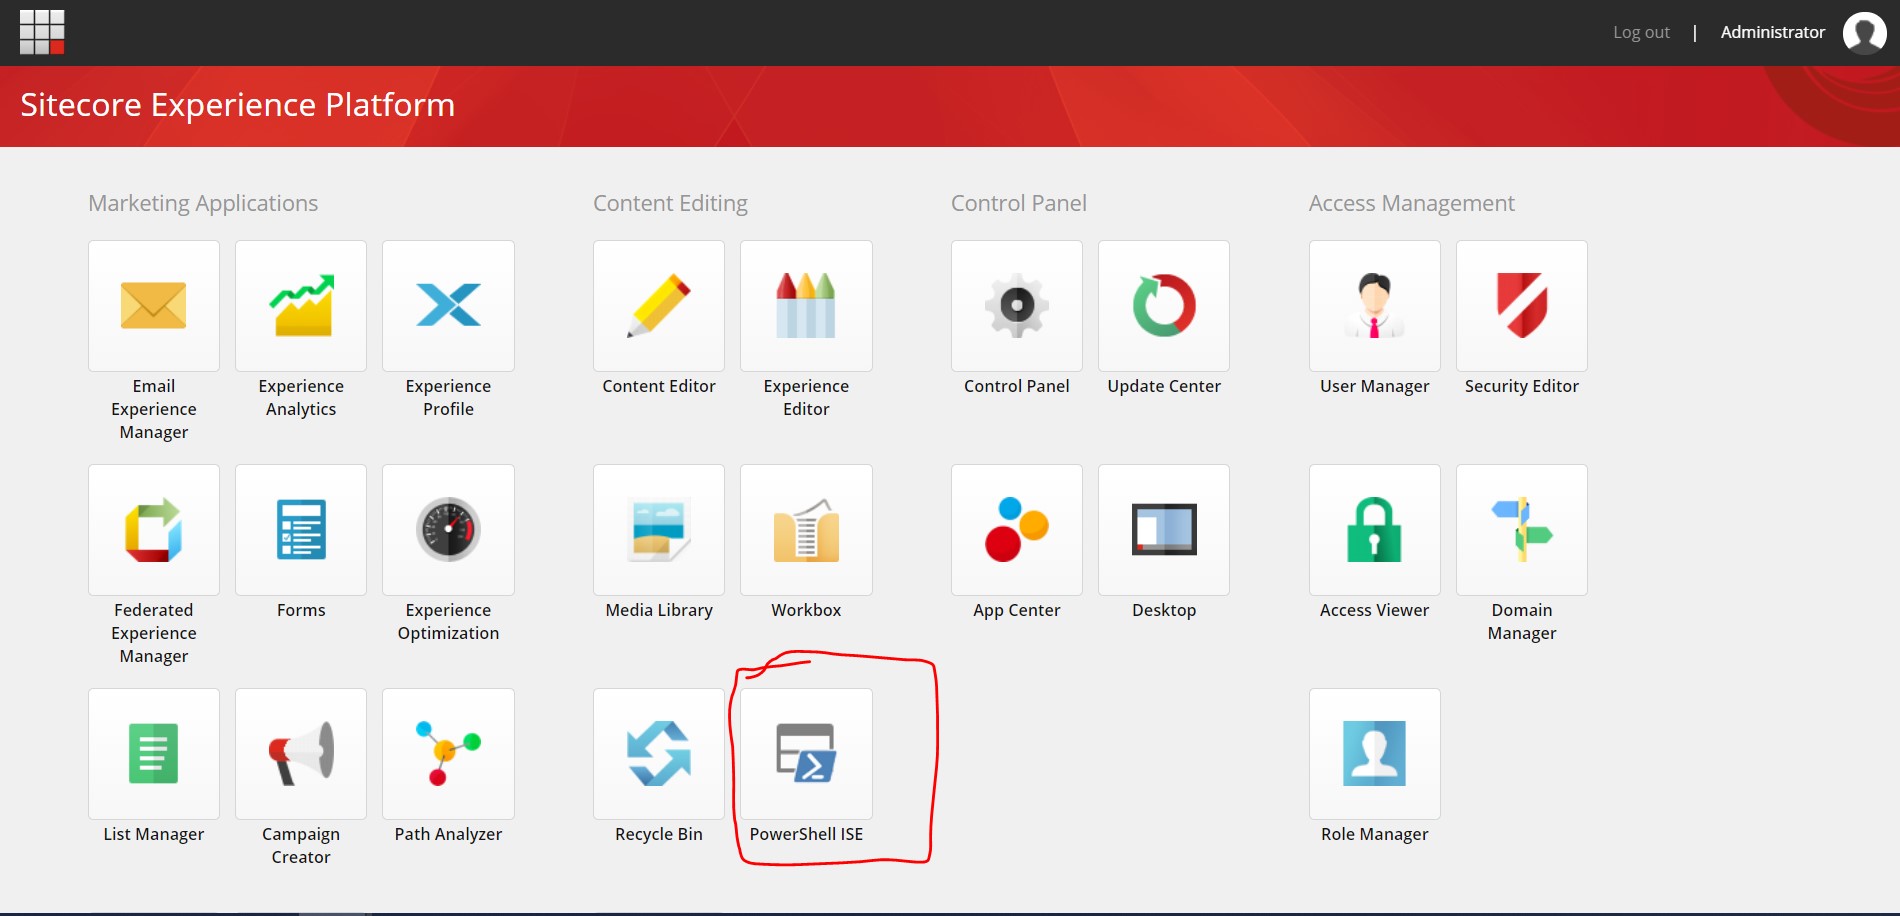
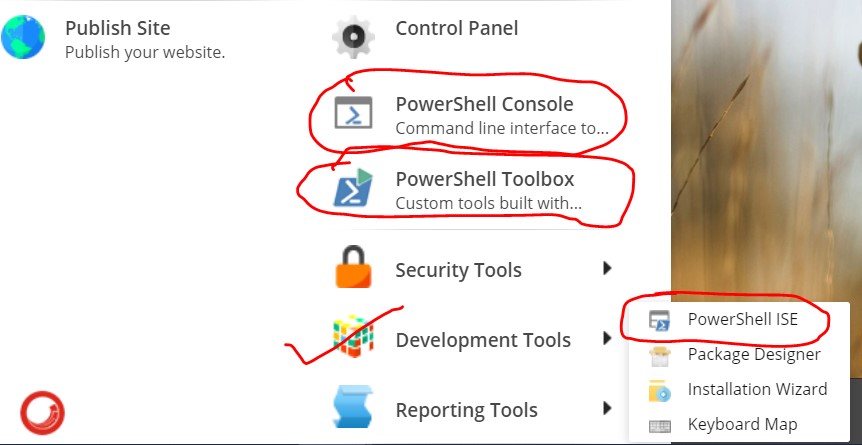
- After completing the installation, you can find the below options in the Sitecore Desktop and Launchpad.
- Sitecore -> PowerShell Console
- Sitecore -> PowerShell Toolbox
- Sitecore -> Development Tools -> PowerShell ISE
- Sitecore -> Reporting Rules -> PowerShell Reports


Below are the major tools that come with the PowerShell Extension Module:
-
PowerShell ISE: You can open it by Sitecore Launchpad or
Sitecore -> Development Tools -> Sitecore ISE. It opens an Integrated Scripting Environment for you. You can perform the
below listed operation:
- Execute your PowerShell Commands.
- Create, Save, Run and Debug your scripts and perform operations on Sitecore Items.
 I will discuss with you in detail PowerShell Command and Scripts in my next
blog.
 -
PowerShell Console: You can open it through
Sitecore -> PowerShell Console. It gives you the same PowerShell interface as Windows PowerShell.
You can execute your solo command and see the output. More details you can find here. For example, here I am assigning values into variable “str” and displaying the value of the variable in the next command.

-
PowerShell Toolbox: You can access it via
Sitecore -> PowerShell Toolbox. It provides you some predefined modules like Create Anti-Package, Index
Viewer, Task Manager, etc. More details you can find here.

-
PowerShell Reports: It's accessible by
Sitecore -> Reporting Rules -> PowerShell Reports. It provides you out-of-the-box reports like Broken Links, Locked Items,
Recently Logged in User, etc. More details you can find from
here:

In my next blog, I will discuss with you "PowerShell Scripts and Commands".
Reference:
- Documentation: https://doc.sitecorepowershell.com/
- For new release: https://github.com/SitecorePowerShell/Console/releases
Happy Sitecoreing 😊


Comments
Post a Comment